Friday, January 22, 2016

Mine Craft Party

My kids love Minecraft.  It is pretty much like unlimited Legos that you never step on barefoot or have to clean up.  I have even enjoyed playing it some.  It can be addictive so I limit playtime.  Last October I was seeing some nifty ideas for using Minecraft themed Halloween decorations.  I used some boxes to make a Creeper:


I spray painted it green and used black crepe paper to add a face.  For some reason I didn't take another picture of it yet.  So once I get it down again (it's put away up high in the garage) I will update this post with a picture of the finished Creeper.

My kids loved it and my daughter asked for a Minecraft birthday party.  Her birthday is in January and it has been challenging for me to plan birthday parties at all let alone immediately following Christmas and New Year.  However, I am done being pregnant and nursing so I didn't have much excuse really.  I was in a hurry though so I had her pick a pre-made image for the invitation and I used Paint to add the personal info (no I am too cheap for Adobe Photoshop).  The blank place at the bottom right is where I put the address and phone number.

After I looked up some ideas and we visited Party City.  We found out that Minecraft hasn't released much for other vendors to sell.  We made do with our own creativity.  My husband was disappointed with his rush job on the cake but I think he did great with the little time he had.  We got some figurines to add the finishing touch.
Minecraft cake

We knew we would be indoors due to the rain.  So I came up with the idea of having "stations" for the kids to play.  I pulled our our mega bloks for the bedroom since I would have an age range of toddler to pre-teen.  I would have pulled out legos if it was mainly older kids or possibly both but I was still recovering from Christmas remember?  I set up another table and put the laptop next to our desktop so the kids could have a station to play Minecraft.  I asked my friend to do face painting and she did an amazing job.  She set up at the same table and the kids were glad to get a turn and the other stations kept them busy while they waited.  I also like using crafts to keep kids busy.  I wasn't super prepared but kids love decorating the bag for collecting the pinata goodies.  So I decided to decorate my card table to look like a craft table.  I bought a plastic table cover from the dollar store and just drew on it.

 I made a Ghast pinata out of cardboard box and white wrapping paper and tissue.  I drew the face on it with markers.  The legs are white crepe paper.  The best part about using a cardboard pinata instead of a paper mache one is that the kids can hit it as hard as they like and everyone can get a turn.  To make sure it would break open I taped two the flaps inward.  Then I told my oldest child (the last one to take a turn) to hit the bottom of it and in 2 hits the treasures were released.
Since it was raining outside we set it up in the Garage.  If I had more forethought I would have made the door to the garage look like a Nether portal with black and purple crepe paper but I lacked purple.

piƱata
 I saw an enderman made from black poster board and crepe paper so that was easy to copy. I used lavender paper and purple marker to make the eyes and sparkles.  I wish I had put it some where else and we could have had the kids do a version of pin the tail on the donkey since the Enderman usually holds something.  But it worked as a decoration anyway.
  Samples of my friend's excellent talent.

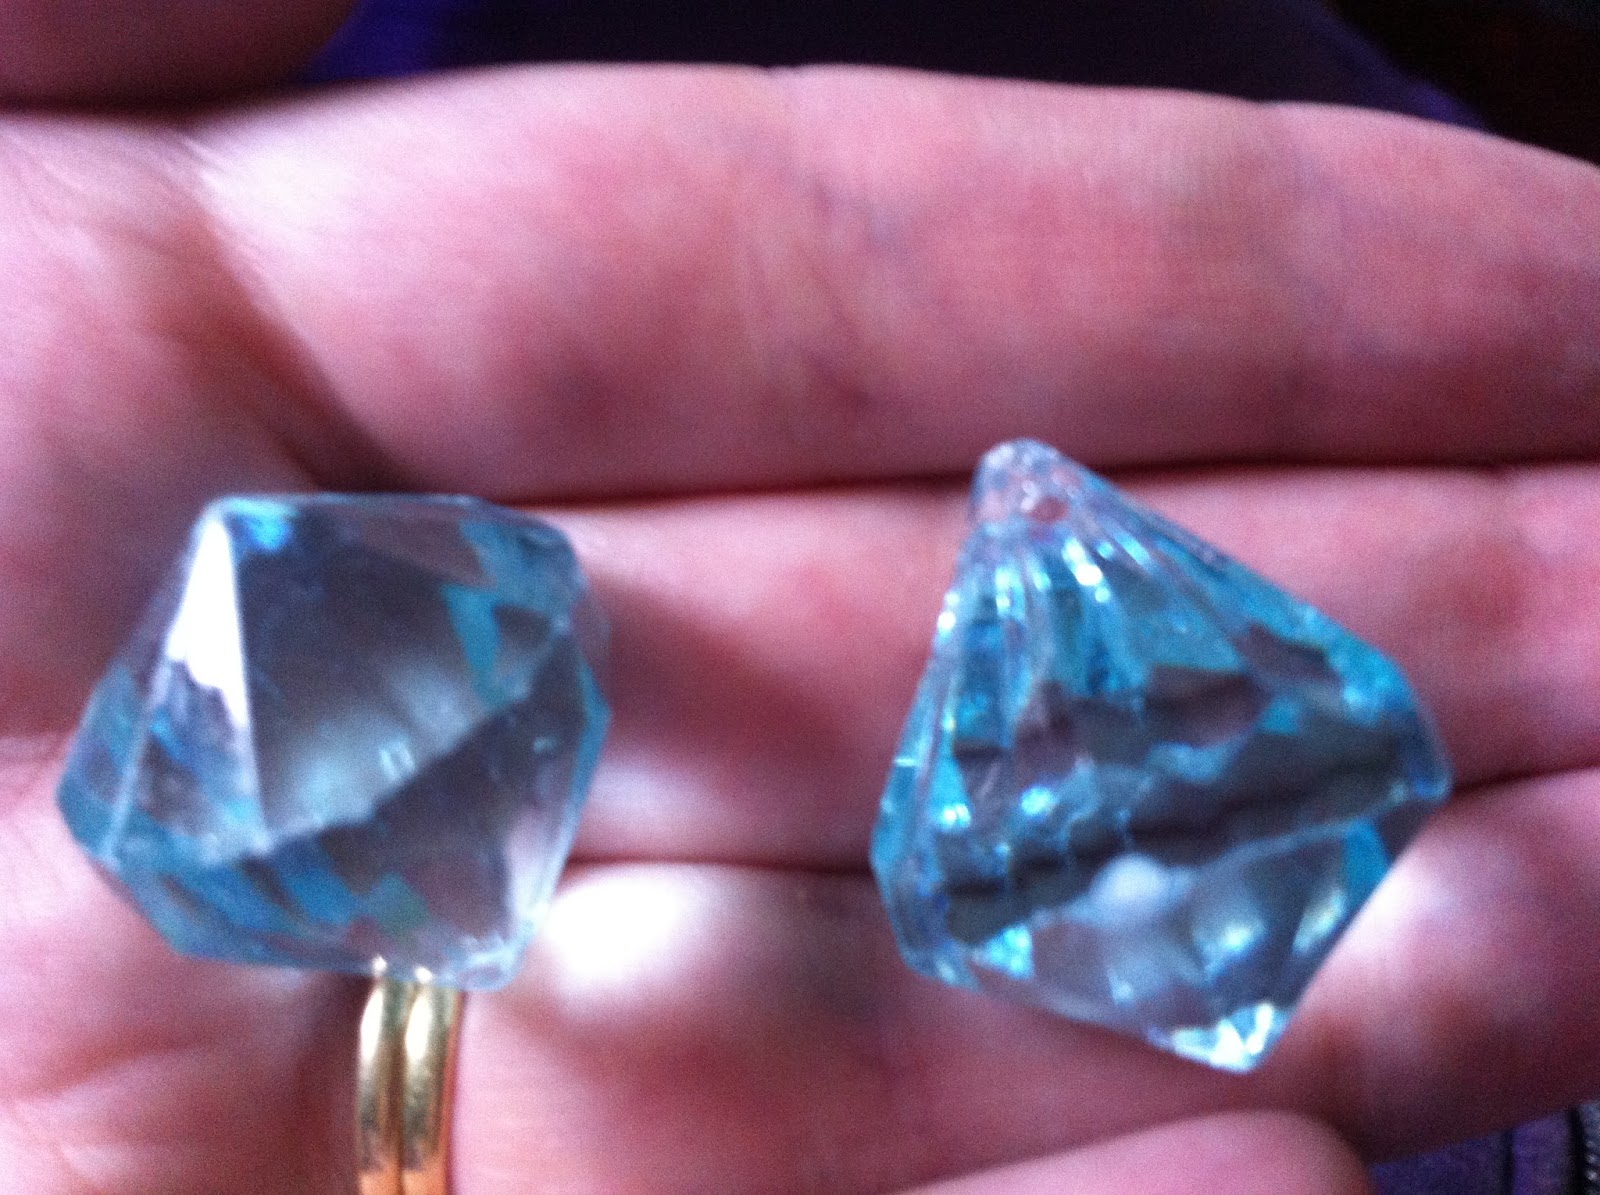
I decided to use our leftover Halloween candy (not much) and some miniature Rubiks cubes and some decorative diamonds from Party City as prizes in the Pinata.  The kids all got a few things in their bags but not too much junk or candy which made all the parents happy.

We were also lucky to find square plastic plates at Party City just the right color of diamond in Minecraft.  I served dinner on them.  We saved them because I foresee more Minecraft parties in our future.  I was also grateful to have 2 other moms stick around to help me manage the kids and we made sure everyone had a good time.  Good Luck on your Minecraft party endeavors!


Monday, December 28, 2015

Beautiful Hand Lettering

As a society we still recognize and admire beautiful handwriting and penmanship.  I have been interested in learning to write prettier since watching Jake Weidmann talk about master penmanship.  He eloquently says:

"We are abdicating so much of what we are learning and retaining, not to our own memories, but to the memories of the computers and other devices."
I agree with his point.  We used to have amazing auditory memory as a society thousands of years ago and then when the written word became available we could store information more reliably to pass on to the next generation.  It was good because we lose a lot of important info relying on verbal memory but the downside was the decrease in our brains choosing to commit things to memory.  We didn't need to do it so we chose to do it less and less.  Even a scant two hundred years ago when paper was not widely available, school children were educated to dictate their entire school lessons.  They committed entire ballads and sagas to memory and could recite them perfectly.

Now computers have become so available we are handwriting less and less.  College kids have stopped handwriting in class and now they don't even teach kids to write in cursive or print very well because we can let our computers do it for us.  I remember having a little bump on my middle finger from holding the pencil and writing all day and now as an adult I can hardly see it.  I get a cramp in my hand when I sit down to write or draw with intensity for more than 20 minutes.  Maybe it is age but maybe it is also lack of use.  I do love the storage capacity of my computer and I admit to relying on it more than paper because of how compact it can make everything but Jake makes a good point in favor of handwriting:
"But by doing the different tactile movements of forming the individual letters and linking those letters one to another and then putting those words into the context of a sentence; you are actually ingraining the information in your brain." 
-Jake Weidman 
This statement impressed me deeply.  I started using my old handwriting skills again.  I practiced in a my journal and looked up calligraphy writing styles to see how I could improve.  In November my very generous brother gifted me $30 to spend on Amazon.com.  I spent a whole day trying to figure out what I wanted to buy.  Ironically, I found what I wanted when I decided to see what was on my brother's wish list to get a Christmas present for him.  He had More Creative Lettering and just looking at it inspired me.  I ordered it for me and him and I was excited to learn how to make beautiful letters.  Then my husband and I were reading scriptures together one night and I was hit by inspiration when we read a verse.  I had noticed it before and had it marked in my copy but this time I could see it written like an art piece emphasizing the phrases and words building to a climatic resolution like a piece of music that crescendos into beautiful high note.

I began working on it the following Sunday at church.  I wrote the verse and then practiced writing the words that I wanted to emphasize in different styles of lettering.  I used 3-4 pages of plain old regular notebook lined paper.  Then my book arrived and I practiced using the different styles in the book.  I used another couple dozen pieces of lined and copy paper as I worked.  A week later I had accomplished this:


I could hardly believe I had done it myself.  Of course by the time I had finished I had memorized the verse pretty well.  It is from the Book of Mormon Another Testament of Jesus Christ.  I am excited to do more pieces with verses from the scriptures.  In the meantime I made this piece for a friend:


I managed it in a time crunch since it was much shorter and the lettering style for the word "blessing" is from Alexandra Snowdon.  She is one of the contributors to the aforementioned book and each artist has a website referenced in the book which is how I found it.  

These did not appear magically.  Here is a glimpse of the process:


I used the lined paper to practice in pencil first and help me get my bearings for the size of the letters and word.  If it looked too cramped or spaced out to far I could adjust that in the copying process.  When I liked what I saw I inked over it in black fine tipped sharpie.


Then I traced my practice pieces on to blank white copy paper.  When I finished the first page I looked in my creative writing book for more advice because I knew I would have a hard time on the finer details with this method.  It talked about using a light table and I wistfully remembered the light table we had in my high school art class.  But I got to thinking and my kitchen table splits to add in sections to make it bigger.  I also had a large glass rectangal intended for a executive desk out in the garage and one of those lamps that can clamp anywhere.  So I created my light table and that made it much easier to do the second page as well as the second art piece.  When I scanned the final copies into the computer I used our paint application to make a couple tiny adjustments.  I know I could have done A LOT of adjusting to line things up more neatly and such but I decided I just wanted it to look as hand made as possible.  I was not going for perfection or computer made.  Besides I was using Paint not Adobe Photo Shop.  I was using what I had not--professional grade materials.  So that is why the finished product looks exactly as it does.  It is a testament that even with simple tools we can create beautiful work.

Also I chose not to sign my name to it for a good reason.  I am not the author of the words nor the original creator of most of the lettering designs.  I want to share it freely as a gift because it was a gift to me from my Heavenly Father.  I was inspired by words from a holy book that came from Him and from the artists in a book that He put in my path to find.  So if you decide to print this and frame it or share it with a love one I would be honored. 

For Christmas, my husband got me a set of calligraphy pens which I am eager to use in my next creation.  Maybe I will start coming up with my own original lettering designs.  

Monday, May 5, 2014

Handmade Cards

So I know I tend to post maybe twice a year.  I have been doing something creative though.


The inspiration came from a friend.  In high school she gave me a card for my birthday.  I generally love saving my birthday cards, but hers was exceptional because it was handmade.  She used a heavy paper (card stock) and several bright colors.  She put balloons on the front and a pile of presents inside and a pocket with a note to pull on the ribbon.  It was tied to paperclip attached to a note that said Get What You Want and a $20 bill.  She had handwritten Happy Birthday in fun loopy writing using a thick marker and a had added little trios of dots randomly in the open spaces and then used a fine ink pen to trace around the balloons and presents using dashes and dots in patterns.

I loved the details that went into every part of the card.  Finally, I decided I wanted to do the same thing.  I forked over money to the local Office Depot for card stock in multiple colors and began imitating her design with the 5 colors I had available.

Then I got inspired to try new ideas.  I made a train card for my nephew's birthday.  I had to think through each layer because I laid down tracks and the cars and wheels and the engine of course.

I thought I would make handmade Christmas cards.  I only send them out our immediate family and the few cousins or friends that send us a card, but I usually send out about 20 cards (16 siblings between my husband and I!) and I just didn't have time to make that many.

But I did make a Gift card for my brother who was moving to a colder climate for the first time ever and I thought he might want to spend money on warmer gear there.  (California doesn't have great cold weather gear)

So I made this card to put his gift card in:


Did I mention I have a set of fancy scissors?  Yeah, I use them for the cards too.  My mom gave them to me.  Thanks mom. I used a plain ink pen to make the dashes and dots.  And I bought a second set of card stock to increase my color choices.  For the inside I simply used my fancy scissors and glued that bright green card stock leaving a gap so I could slide the gift card in place.


For Mother's day I came up with a fun idea of tracing my kids hands and printing out a small head shot of them and pasting it in their hand print.  For the front I used a picture I loved of all of them.  I got a cute set of colored felt markers from the dollar store so I could use multiple colors for tracing with dots and lines.


We also got envelopes from Micheal's craft store that can hold a full size paper folded in half.  Perfect for a large handmade card you want to mail.  I have also made my own envelopes too.  When I cut the paper in half width wise and fold it in half I can make an envelope from another sheet of paper.  

I saved my favorite for last.  My mother's birthday card.  I got some lighter weight paper to try out more colors and to see how it works with the layering.  It works great.  So I used my fancy scizzors to make this card too.  


I wrote the poem for it too so I will type it here in case you can't read my handwriting:

Treasures are born each day of the year.
Each one is priceless and fills us with cheer.
We remember your day and the longer you live,
The more we are blessed by the treasures you give:

Treasures of teaching, kindness and love,
Your testimony of Jesus and Father above,
Treasures of service and work and play...
We celebrate you!  Happy Birthday!

You too can become a card maker extraordinaire!  The basic materials I use are:
Card stock white and colored, scissors, glue, and a pen.  Start from there and you will be surprised at the inspirations that can come to you.  Don't be afraid to add ribbon or other colors or ideas.  Anything you try will give your cards a personal touch.  Obviously the more details you add the more time you take for making the card.  Simpler designs can take less time and still look just as great.  Have fun!

For a baby shower card you could use the poem I wrote and posted back in January of 2011.

Wednesday, January 15, 2014

Pinterest, Pie and Pounds... Oh MY!

So I have some thoughts to plunk down before I lose them in the wind with homemade confetti from scissor loving 3 year-old and laundry filled baskets and homework detail.

Thanks to Pinterest my blog has gotten a lot more hits.  It is fun to see over a 1,000 views and most of them not my own.  I don't have anything against other people sharing my posts, I feel flattered actually.  I also don't plan to advertise.  I am not against extra income, but I don't like a lot of those belly fat ads that use the same picture to sell another scam gimmick diet.

Speaking of diets, I had a couple posts a while back (a couple pregnancies ago) about weight loss and such.  Jean Antonello is not alone in publishing that it is possible for a healthy person to lose weight naturally by eating normally.  I purchased her book How to Become Naturally Thin by Eating More and it basically instructs you to listen to your body and eat when you are hungry and stop when full.  Choose the best foods and you will get thin because your body will function better on healthy food.  She also recommended not weighing yourself.  It took me a while to accept that idea.  In fact it took 3 different people saying that.  I can tell you that I did go through my fourth pregnancy carrying far more weight than I wanted.  I had not lost all the weight from my previous pregnancy so my starting point was higher than I wanted.  I went to the doctor's office dreading my weigh in and praying that it would slow down.  But here is the amazing thing:
A week after my baby was born I weighed my pre-pregnancy weight!  
I was waking up one night and letting go of so much water.  I knew I had not drunk that much water but it was draining from me and I could see my ankles again.  It felt so good to see the pounds just drop in a few days.  I showed faith in my body and it had responded well.

Then a couple months later I was at a day for women sponsored locally by my church.  I attended a wonderful lecture about body image and what we are doing and teaching our girls in our everyday language and actions.  (Even sucking in the belly can teach your daughter something :0 )  She encouraged us to stop treating the scale like a god.  The real kicker was another lecture by a personal trainer.  She had 2 kids and no scale.  She never weighs herself.  I never had a scale until I started "dieting."  So I let go of the scale.  Today I do not know how much I weigh.  I want to get rid of the scale because sometimes I am tempted to check.  But I have not convinced my husband we don't need it so it still taunts me a little in the bathroom.

Instead I pay attention to my clothes and how they fit.  In the last 6 months I have gone from 1X tops to XL tops to L tops.  My pant size has diminished slightly too.  This has all been without regular exercise.  There have been spurts of exercise scattered here and there.  I also pay attention to how I feel when I am exercising.  How hard am I working?  Is it easier or harder than last time?  I can feel an improvement and measure it by how much easier it is to run or sprint or even when I do pilates, I can lower my legs to the 45 degree angle without my back arching.

So do I feel guilty when I eat?  No.  I just ate a piece of pie before I sat down to write this.  Hence the title includes pie. :D  Do I feel guilty when I don't finish everything?  I am still working on letting food go in the trash.  Especially stuff like french fries or toast that really don't taste good when reheated.  My body image still fluctuates.  Sometimes I look in the mirror and I see a beautiful, healthy woman.  Sometimes I see flab and stretch marks and dark circles.  What I find most interesting is when I look at pictures.  Some pictures look great and some I just see the parts of my body that I struggle to accept the most.
This pictures was a couple months after my second baby was born


This picture was not even a month after I delivered my third baby.


I have noticed a difference in how I feel emotionally.  For a few months I was having a hard time making it to the grocery store for fresh fruits and veggies.  (Would you want to take 2 almost potty-trained girls and rush over to the store between baby's naptime?  This is a store that does not have carts that hold 3 kids by the way.)  I noticed it when my period finally came.  YIKES!  I was so depressed.  I was not getting the nutrients I needed to combat that.  The depletion was supplemented well with vitamins but I didn't want to just take vitamins and eat carbs the rest of the time.  I went through 2 waves of depression and when I felt the next wave coming and I decided to walk a mile with the double stroller and get the good veggies and what a difference I felt the next day.  (Could have been that double high five I made mentally... Exercise and healthy food victory!) But when you are relying on your body to tell you what it needs you can get a pretty clear picture.  So trust your body.  Get the good foods and stop weighing yourself.

I want to add that you can keep trying until you find what works for you.  If you have a system that is working for you and you can maintain the goals you have using your system then don't try to fix it.  My sister-in-law has her own system.  She eats 3 meals a day and she does not overeat.  To quote her, "If I feel like having a piece of cake I can make a cake and eat one piece."  She is down to a size 8 and I am inspired by her.  My father-in-law was barely recognizable when we visited this year.  Healthy eating and exercise and has gotten his weight down and his health has improved vastly.  I am so glad to see people succeeding and maintaining their goals.

A month after I wrote this draft I learned that I am pregnant again.  I have gained 6 pounds in 16 weeks.  This is the lowest weight gain I have ever had in the first month let alone the first 4 months.  I continue to have faith in my body.

Oh yeah, and one more note, the morning sickness came and I also was nursing.  I started taking iron in the morning, right away because of my previous experience with anemia in my last 3 pregnancies.  I added multivitamins in the afternoon and vitamin D3 at night.  It is hard to establish new habits so a couple times I forgot my iron and I felt so sick the next day.  When I added vitamin D3 to the regimen my morning sickness diminished more.  So to me that proves that your body is trying to tell you something with nausea.  My best days during morning sickness have occurred when I got a good night's sleep and good nutrition.  I also learned that when I had a good day if I tried too hard to catch up on housework, I would feel sicker the next day too.  So I have learned to listen to my body when it is tired too.

Tuesday, December 24, 2013

Go Away From Rain

I created this little strip on Paint several years ago.  It expresses well my optimism for life and I hope you get the meaning, enjoy it and share it.


Tuesday, September 3, 2013

Be a MOM

The last few days have been stressful but also inspiring.  I take credit for coming up with this parody, but I also dedicate it to my mischievous girls who provided a lot of ideas through their simple everyday actions.  *Edit:  One of my wonderful friends wanted to pin this but it needed pictures.  I have delved into my personal cache because I like avoiding copyright violations.  All these pictures are used with my permission.  I hope someone will be inspired to make a music video of this.  Please inform me when it happens.


Be a MOM
(Parody of Be a Man from Mulan)

Let's get down to business
We must raise children
Did they send me daughters
When I asked for MOMS?

You have never changed a diaper yet
But you can bet before we're through
Missie, I'll make a MOM
Out of you.

Tranquil as a forest
But on fire within.
Once you find the blankie
You are sure to grin.

You're a naive, young, optimistic lot
And you haven't got a clue.
Somehow I'll make a MOM.
Out of you.

Mom 1: I'm never gonna catch my breath
Mom 2: Say goodbye to those who knew me
Mom 3: Haven't slept a wink; I think he's cutting teeth
Mom 4: This kid really needs a bath
Mom 5: Never gonna finish laundry
Mom 6: Now I really wish my baby learns to sleep

[kids] BE A MOM
We must be swift as a running toddler
[kids] BE A MOM
With chicken soup in a great big spoon
[kids] BE A MOM
With all the strength of a toilet plunger
Mysterious as the mess they made in the room

Time is racing toward us
Till the kids arrive.
Have dinner on the table
And you might survive.

You're unsuited for the grocery store
So pack up, go home you're through
How did I make a MOM
Out of you?

[kids] BE A MOM
We must be swift as a spilling milk jug
[kids] BE A MOM
With all the force of a bed time rule
[kids] BE A MOM
With all the strength of imagination
Mysterious as the green stuff in the food

[everyone]BE A MOM
We must be swift as a coursing river
BE A MOM
With all the force of a great typhoon
BE A MOM
With all the strength of a raging fire
Mysterious as the dark side of the moon
Hoo-ah!

Tuesday, May 7, 2013

LEGEND OF ZELDA BIRTHDAY PARTY

Legend of Zelda was easily my most favorite video game as a child.  Our kids like watching us play the new versions and for my son's birthday party we are using Legend of Zelda as our theme.

Here is what we did with notes on what worked.  First off I am glad we didn't get all 8 kids we invited.  We had four 10 year old kids with a few siblings ranging from 5 to 12.  To top it off my throat got sore and I could barely talk.  Luckily, I had two other adults stay plus my husband and my mom available to help.

The invitation used the original Legend of Zelda opening scene.  We used the print screen function on the computer to save the image and my husband used Adobe Photoshop to mess around with it.
It is really easy to find Legend of Zelda images using Google.
Inside the invitation is where I got creative:

YOU ARE INVITED TO 
JOIN OUR QUEST 
FOR (insert child's name)
BIRTHDAY PRESENTS 
AND THE TRIFORCE 
CAKE ON
 (insert Date)
(insert Time)
COME TO HYRULE AT
(insert Address)
RSVP (insert your number)

Using the original Hyrule Map I created a map of our house using Paint to cut and paste.  My plan was to make a level out of each room and present a challenge to be conquered.

Level 1 was a printed maze that our printer makes randomly.  We made several and wrote a 1, 2, and 3.  There are several unused drawers in my daughter's room so the kids worked their way through the maze to each number and allowed them to open a drawer as they reached it.  The kids really liked the idea.  The items they got were a key and 2 flashlights.

Level 2 was a dark room (in another bedroom).  The kids used a flashlight to find the chest hidden in the room.  It contained small balloons filled with air and attached to curling ribbon.  The instructions were to tie a balloon around the ankle and go to the living room for the monster stomping game.  The rules of the game was to pop everyone else's balloon with your feet and try to avoid their feet popping your balloon.  The kids liked the game a lot so we did it twice.  A couple kids that didn't like the popping sound covered their ears or just watched and waited for the next game.

Level 3 was in another bedroom.  We set up a Jenga tower with 3 blocks marked with a key, a compass and a chest.  We played with Jenga rules, building the tower as we pulled out blocks.  When the tower fell, they had to start over again (like dying in the game).  When the kids found all 3 blocks they have beaten the level.  Unfortunately, not all the kids were patient with this game.  I had to tell one to back off because he kept knocking over the tower when it wasn't his turn.  I also took away some of the dud blocks so it was easier to find the right ones after a few tries.  Once they succeeded they opened the chest in the room and found boomerangs (purchased for 50 cents a piece at Party City) and 2 sling shots I found at the Dollar tree.  We supplemented the sling shot ammunition with a package of table tennis balls.  (I think my husband found them at Albertson's).

Level 4 was in the Garage.  We had a good battle idea.  Paper bats hanging from the ceiling.  My husband took over this idea and taped the bats to string and hung them from the rafters.  He used Halloween decorations and scattered storage tubs around the room to add decor and difficulty.  His goal was to use the boomerangs and slingshots to knock the bats down, but tape was stronger or the paper wasn't heavy enough.  Either way the kids finally knocked them down when they climbed on the boxes and hit the bats with their boomerangs melee style.  He also added to the difficulty by requiring the flashlights to be used again but eventually had to turn on a lamp anyway.  We had to use our daughter's toy box to hold the last treasures also purchased at the dollar tree:  water shooter tubes and beach balls.  (Edit:  I noticed in October the 99 cent store sold squeaking rubber bats that hang.  So cool, I just had to share that if you plan ahead you can get better than paper.)

This game had to be played in the backyard.  I thought the water shooter tubes looked a lot like arrows.  The Classic game included killing Gannon with silver arrows.  So the way I thought to incorporate them was to have a race.  The kids would spray the beach balls across the yard.  Theoretically, it was a great idea and the kids took turns racing and enjoyed it.  But, I didn't have enough voice to keep it organized.  At that point they were all just having a good time anyway.  In my mind, I was going to have them team up and do a relay and work together, but taking turns racing each other in pairs worked too.

The climatic event really was the Dragon Pinata from Party City.  If I had more time we could have made one but this worked great.  My husband used a flag pole and our porch railing was a fulcrum so he could move it around to "attack" the kids.  It was quite amusing to watch and the triumphant finish was perfect as the dragon was beheaded.  We filled it with Jolly Ranchers because it resembles rupees pretty well.

We had gathered all the gifts out in the backyard as the Dragon's hoard and we proceeded to watch our birthday boy open his presents.  The Triforce cake was presented by my husband.  He used a baking sheet and two cake mixes, but it allowed him to create 3 equilateral triangles.  After that the kids just wanted to play with each other so ends my tale.

I had a lot of great ideas I did not get to use because of a lack of time to prepare, but for what we accomplished I put this party down as a great success.  Feel free to use any of the ideas I have described.

Other things I considered doing in no particular order:
Setting up the food table like a potion shop.
Giving the kids rupees (as jolly ranchers or paper rupees or something) to spend on the games or other places.
Giving the kids each a Link hat to wear and a "heart container."
Using water balloons as "bombs" to aim at a large picture of a Classic Legend of Zelda monster.
Drawing a picture of Gannon on the beach ball.
Incorporating finding the piece of triforce in each level.